Installing a cursor is as easy as 1,2...6! I know Windows 11 can be very confusing for those of us longing for the caveman days, but trust me, the primal roots are still there.
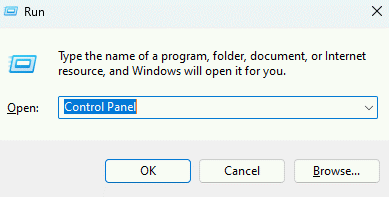
STEP 1:
you're gonna wanna open up Control Panel. Easiest way to do that is to press WINDOWS KEY + R, and simply type "Control Panel" in the field.
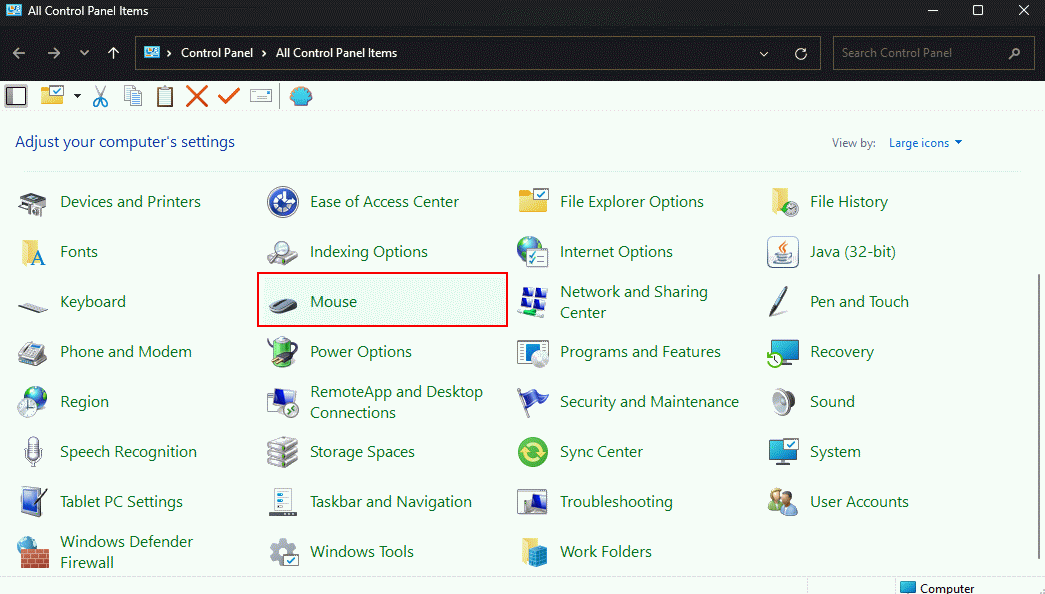
STEP 2:
Click on the "Mouse Settings"
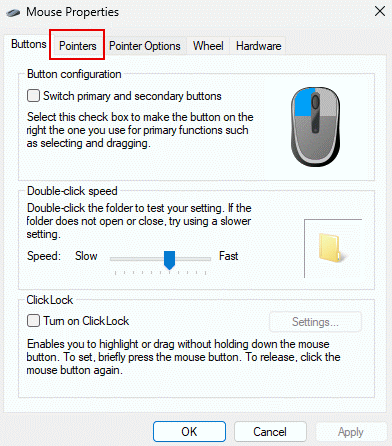
STEP 3:
Upon clicking "Mouse Settings," this window will pop up. Go head and click on "Pointers"
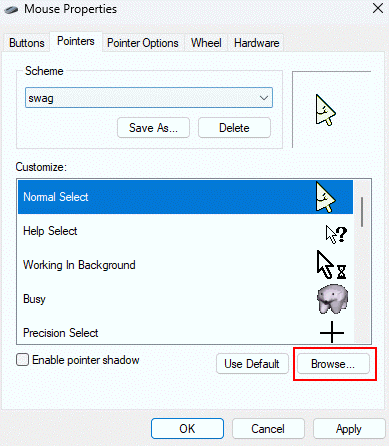
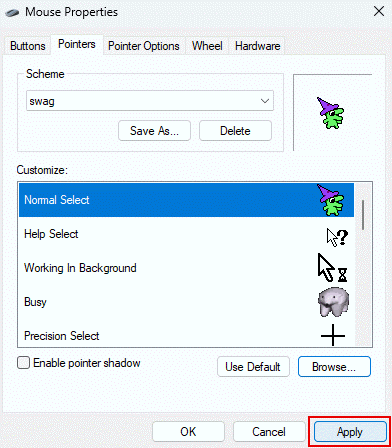
STEP 4:
This is where the going gets good, you can see every type of cursor! Normal Select, Pointer, Loading... the list goes on! Now click "Browse."
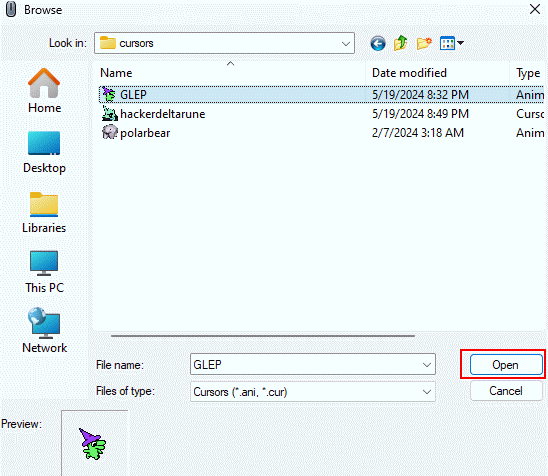
STEP 5:
Navigate to whichever folder you saved the cursor to. You can even see a little preview of the cursor at the bottom. Convienent! Hit "Open!"
STEP 6:
Now all you gotta do is hit "Apply" and you're good to go!
Now, I do reccomend saving your own scheme so it's easier to keep up with, and come back to later. When you got the cursors how you like 'em, click "Save as..."
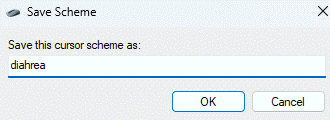
You can name it whatever you want.
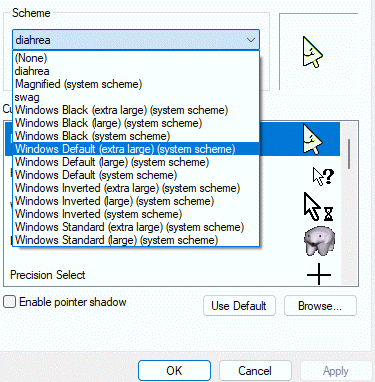
And they'll all be there, whenever you need 'em!
Hope this helped you! Feel free to spread the word for any other soul dying to give their PC a bit of pizaz, but keep in mind what website you are on. heh heh heh...